I turned a boxed cake mix into impossibly fudgy red velvet brownies studded with white chocolate chips that had everyone begging for the recipe.
I am obsessed with these Red Velvet Brownies because they taste rich and wildly indulgent despite being stupidly simple. I love that a box of red velvet cake mix and a handful of white chocolate chips turn into fudgy, intense squares that make people stop mid-bite.
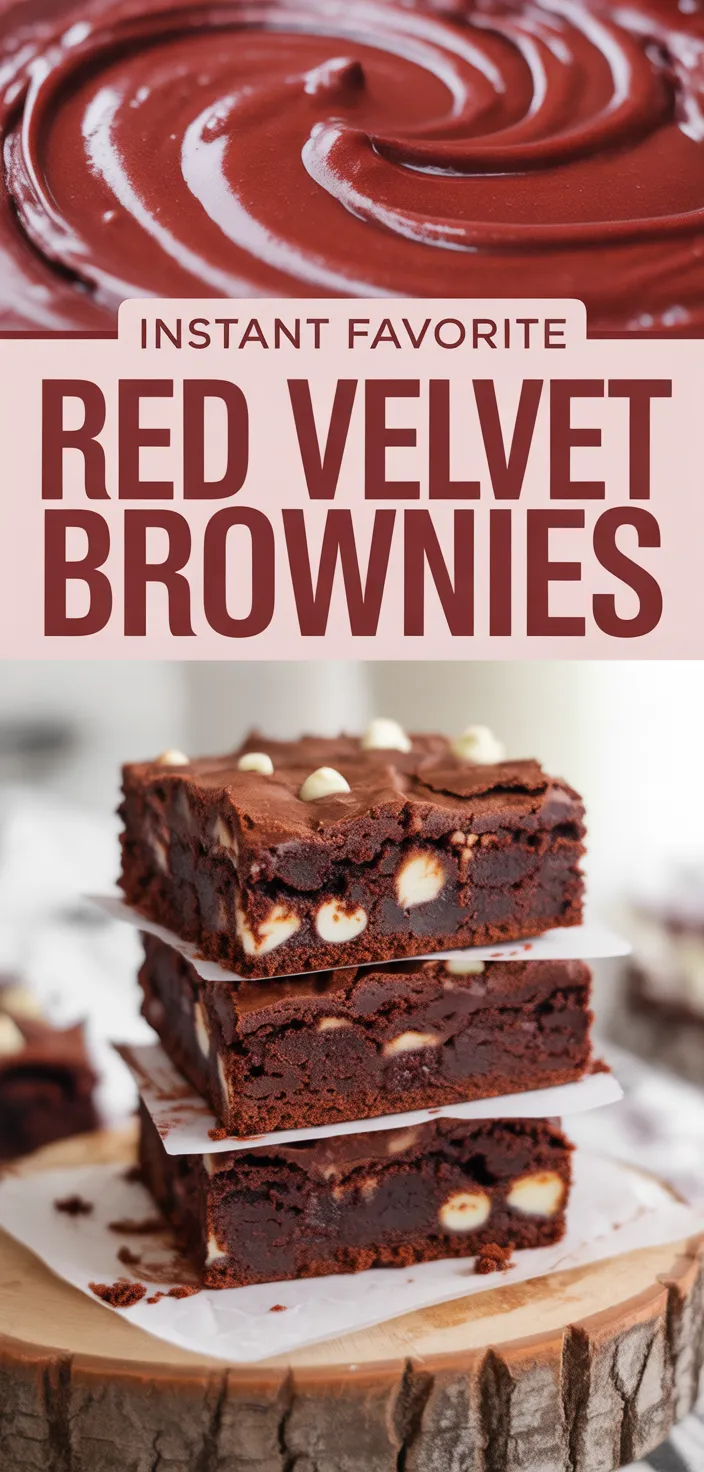
The color grabs you first, the crumb pulls apart like velvet, and the white chocolate pockets melt into gooey pops of sweetness. But it’s the texture that hooks me, the crackly top, the dense, almost brownie-like middle.
Purely indulgent. No pretension.
Just bold, unapologetic dessert that makes me want another piece immediately right instant.
Ingredients
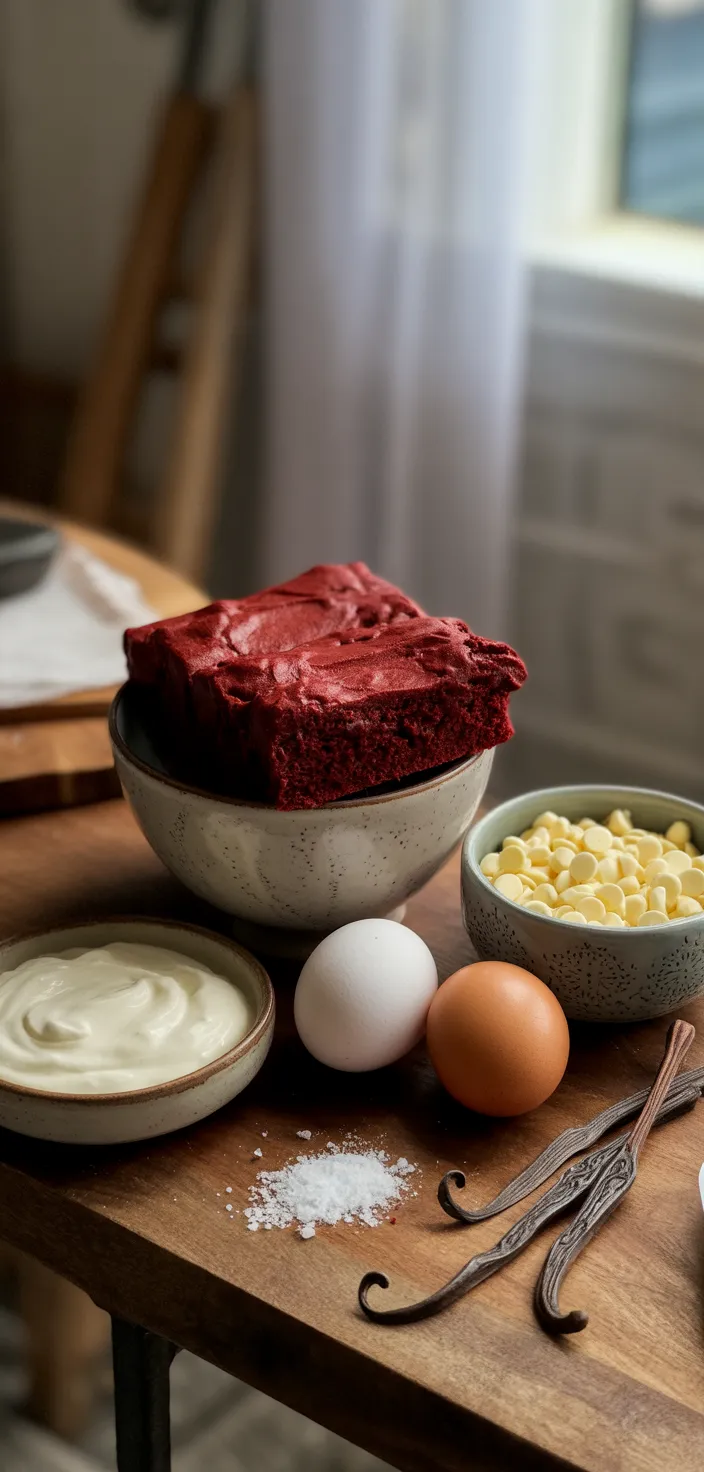
- Basically red velvet cake mix gives that cocoa tang, vibrant base and keeps things easy.
- Eggs, they bind and add richness so brownies stay fudgy not crumbly.
- Oil, basically keeps it moist and gives that tender, slightly shiny texture.
- Plus sour cream, it adds tang and creaminess, making brownies denser.
- Vanilla, it’s a warm cozy note that rounds flavors and cuts sweetness.
- Basically white chocolate chips are pockets of sweet creamy bursts that contrast cocoa.
- Plus salt, it wakes flavors and balances the rich red velvet.
Ingredient Quantities
- 15.25 oz red velvet cake mix (one standard box)
- 2 large eggs
- 1/2 cup vegetable oil (or canola)
- 1/3 cup sour cream (or plain Greek yogurt)
- 1 tsp vanilla extract
- 1 cup white chocolate chips
- Pinch of salt
How to Make this
1. Preheat oven to 350F and grease a 9×13 inch baking pan or line it with parchment so the brownies lift out easy.
2. In a large bowl whisk together the red velvet cake mix, pinch of salt, 2 eggs, 1/2 cup vegetable oil, 1/3 cup sour cream and 1 tsp vanilla until just combined. Don’t overmix, a few streaks are fine.
3. Stir in 3/4 cup of the white chocolate chips so they get distributed through the batter; reserve about 1/4 cup for topping or melting.
4. Scrape the batter into the prepared pan and spread it evenly with a spatula, try to get corners filled so it bakes uniform.
5. Bake in the center of the oven for 22 to 28 minutes or until a toothpick inserted in the center comes out with moist crumbs but not raw batter. Ovens vary so start checking at 20 minutes.
6. While brownies bake, melt the reserved white chocolate chips in a microwave safe bowl in 20 second intervals, stirring between each, until smooth. If it looks grainy add a few drops of vegetable oil or a tsp of butter and stir.
7. Let the brownies cool in the pan on a wire rack for at least 15 minutes so they set up; pour or drizzle the melted white chocolate over the top and spread or swirl with a knife if you like.
8. For cleaner slices chill the pan for 30 minutes to firm up the chocolate, then cut into squares with a sharp knife wiped between cuts.
9. Store leftovers covered at room temp for up to 2 days or in the fridge for up to 5 days. Rewarm briefly if you want the white chocolate soft again.
Equipment Needed
1. Oven (preheated to 350F)
2. 9×13 inch baking pan (or pan + parchment to lift brownies out)
3. Parchment paper or nonstick spray
4. Large mixing bowl
5. Whisk (or a fork)
6. Rubber spatula for scraping and spreading
7. Microwave safe bowl for melting white chocolate
8. Wire cooling rack and a sharp knife (wipe knife between cuts)
FAQ
Easy Red Velvet Brownies With Cake Mix Recipe Substitutions and Variations
- eggs: 2 tbsp applesauce per egg for a moist, slightly fruity swap, or 1/4 cup mashed banana per egg if you don’t mind a banana hint.
- vegetable oil: equal amount melted butter for richer flavor, or use light olive oil or coconut oil for a different, tasty twist.
- sour cream: plain Greek yogurt 1:1 for tang and texture, or use cottage cheese blended smooth if that’s what you have.
- white chocolate chips: regular chocolate chips or chopped baking chocolate, or try cream cheese swirls for a cheesecake vibe instead of chips.
Pro Tips
1) Use room temp eggs and sour cream, they mix way better and you wont get lumps, plus the batter bakes more evenly.
2) Fold the white chips in gently so you dont overwork the mix, but reserve a few for the top so you get little pockets of melted chocolate that look and taste fancy.
3) If your oven runs hot rotate the pan halfway through baking and start checking at 20 minutes, every oven is different and you dont want dry brownies.
4) To get clean squares, chill the pan until the chocolate firms up, then warm your knife under hot water, wipe it dry and slice — repeat between cuts for neat edges.
Easy Red Velvet Brownies With Cake Mix Recipe
I turned a boxed cake mix into impossibly fudgy red velvet brownies studded with white chocolate chips that had everyone begging for the recipe.
12
servings
317
kcal
Equipment: 1. Oven (preheated to 350F)
2. 9×13 inch baking pan (or pan + parchment to lift brownies out)
3. Parchment paper or nonstick spray
4. Large mixing bowl
5. Whisk (or a fork)
6. Rubber spatula for scraping and spreading
7. Microwave safe bowl for melting white chocolate
8. Wire cooling rack and a sharp knife (wipe knife between cuts)
Ingredients
-
15.25 oz red velvet cake mix (one standard box)
-
2 large eggs
-
1/2 cup vegetable oil (or canola)
-
1/3 cup sour cream (or plain Greek yogurt)
-
1 tsp vanilla extract
-
1 cup white chocolate chips
-
Pinch of salt
Directions
- Preheat oven to 350F and grease a 9×13 inch baking pan or line it with parchment so the brownies lift out easy.
- In a large bowl whisk together the red velvet cake mix, pinch of salt, 2 eggs, 1/2 cup vegetable oil, 1/3 cup sour cream and 1 tsp vanilla until just combined. Don’t overmix, a few streaks are fine.
- Stir in 3/4 cup of the white chocolate chips so they get distributed through the batter; reserve about 1/4 cup for topping or melting.
- Scrape the batter into the prepared pan and spread it evenly with a spatula, try to get corners filled so it bakes uniform.
- Bake in the center of the oven for 22 to 28 minutes or until a toothpick inserted in the center comes out with moist crumbs but not raw batter. Ovens vary so start checking at 20 minutes.
- While brownies bake, melt the reserved white chocolate chips in a microwave safe bowl in 20 second intervals, stirring between each, until smooth. If it looks grainy add a few drops of vegetable oil or a tsp of butter and stir.
- Let the brownies cool in the pan on a wire rack for at least 15 minutes so they set up; pour or drizzle the melted white chocolate over the top and spread or swirl with a knife if you like.
- For cleaner slices chill the pan for 30 minutes to firm up the chocolate, then cut into squares with a sharp knife wiped between cuts.
- Store leftovers covered at room temp for up to 2 days or in the fridge for up to 5 days. Rewarm briefly if you want the white chocolate soft again.
Notes
- Below you’ll find my best estimate of this recipe’s nutrition facts. Treat the numbers as a guide rather than a rule—great food should nourish both body and spirit. Figures are approximate, and the website owner assumes no liability for any inaccuracies in this recipe.
Nutrition Facts
- Serving Size: 74g
- Total number of serves: 12
- Calories: 317kcal
- Fat: 17.3g
- Saturated Fat: 5.2g
- Trans Fat: 0.06g
- Polyunsaturated: 2.9g
- Monounsaturated: 7.5g
- Cholesterol: 32.5mg
- Sodium: 135mg
- Potassium: 64mg
- Carbohydrates: 37.8g
- Fiber: 0.8g
- Sugar: 23.7g
- Protein: 4.5g
- Vitamin A: 108IU
- Vitamin C: 0.1mg
- Calcium: 28mg
- Iron: 0.9mg