There’s something endlessly satisfying about baking, and when it involves the sweet, juicy surprise of fresh strawberries nestled in a flaky, buttery scone, it’s basically pure magic. Join me on this delightful baking journey, where we’ll create strawberry scones that are just begging to be paired with your morning coffee or afternoon tea. Let’s get started, because these beauties won’t make themselves!

My Strawberry Cream Scones have a delightful blend of flavors. They burst with the freshness of strawberries, which are just coming into season as I write this.
The scones have a perfect sweetness from sugar and a near-perfect balance in textures, thanks to the very soft dough that makes for scones that are more tender than they might otherwise be and thanks, too, to the not-so-slight crunch from sprinkling sugar on top.
Ingredients
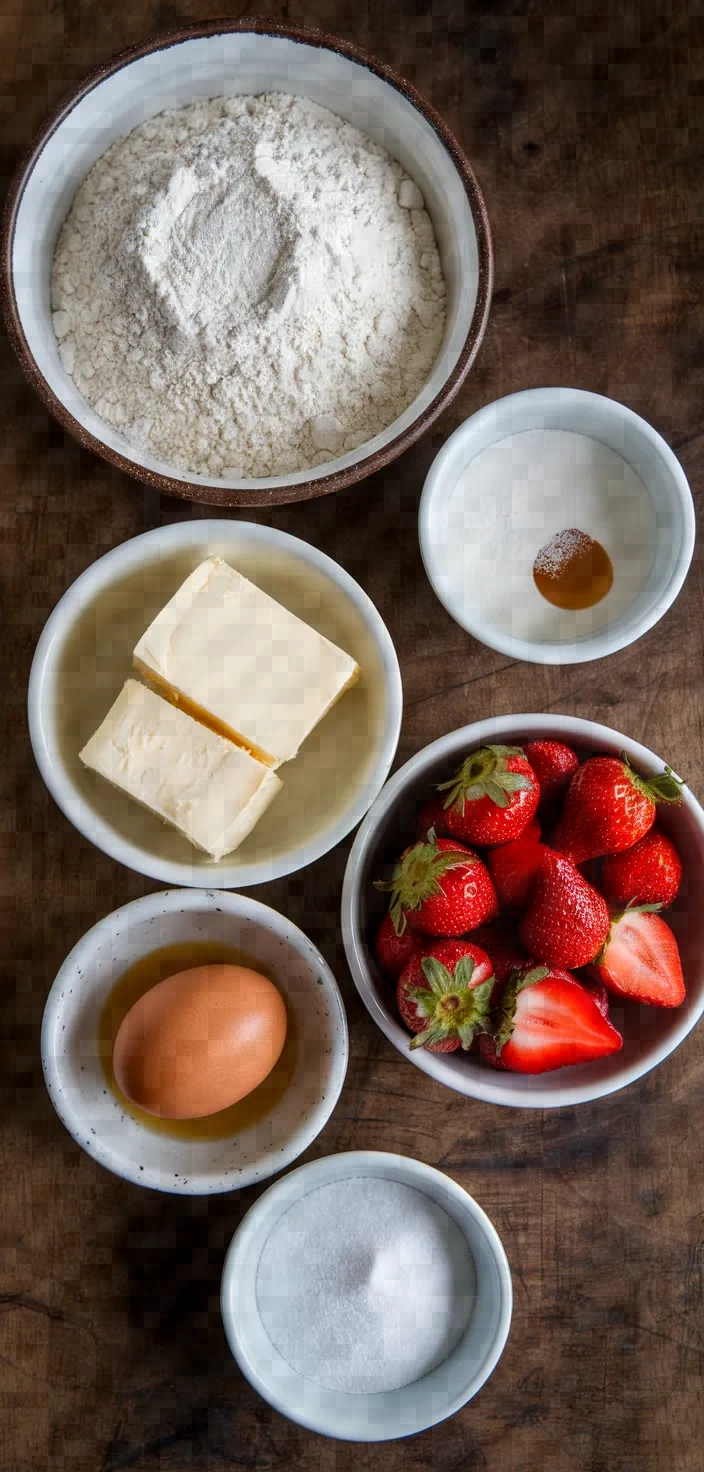
- All-purpose flour: Provides structure; main carbohydrate source.
- Granulated sugar: Sweetens; balances tartness of strawberries.
- Unsalted butter: Adds richness; enhances flaky texture.
- Heavy cream: Adds moisture; contributes to tender crumb.
- Fresh strawberries: Natural sweetness; source of vitamin C.
- Coarse sugar: Crunchy topping; slight caramelization.
Ingredient Quantities
- 2 cups all-purpose flour
- 1/3 cup granulated sugar
- 1 tablespoon baking powder
- 1/2 teaspoon salt
- 6 tablespoons unsalted butter, cold and cubed
- 1/2 cup heavy cream
- 1 large egg
- 1 teaspoon vanilla extract
- 1 cup fresh strawberries, diced
- 2 tablespoons coarse sugar, for topping
How to Make this
1. Your oven should be heated to 400°F (200°C) ahead of time, and a baking sheet should be lined with parchment paper.
2. In a big mixing bowl, combine the flour, granulated sugar, baking powder, and salt, and mix thoroughly.
3. Include the cold, cubed butter in the dry ingredients. Cut the butter into the mixture using a pastry cutter or your fingers. Continue until the mixture resembles coarse crumbs, with some larger pieces of butter still intact.
4. In another bowl, beat together the ingredients in this section until combined. The ingredients are: heavy cream, egg, and vanilla extract.
5. Combine the liquid ingredients with the dry ones and stir gently until they are just mixed together. You should not see any dry patches, but it is okay if the batter is not perfectly smooth.
6. Carefully and gently incorporate the diced strawberries, taking care not to overwork the dough.
7. Transfer the dough to a surface that has been lightly sprinkled with flour and knead gently. Form the dough into a rough disk and then pat it into an 8-inch round circle.
8. Using a sharp knife, divide the dough into 8 wedges and move them to the baking sheet you prepped earlier, spacing them about 2 inches apart as you do. The wedges should be on the baking sheet in the same way they would be if they were actually a pie, so that they could bake properly.
9. If desired, use a little extra cream to brush over the tops and then sprinkle on some coarse sugar.
10. Bake for 18-22 minutes, or until the scones are brown on top and look like they’re about to burst. Let cool slightly before serving. Enjoy!
Equipment Needed
1. Oven
2. Baking sheet
3. Parchment paper
4. Mixing bowl (large)
5. Mixing bowl (medium)
6. Pastry cutter (or fingertips)
7. Whisk or fork (for beating)
8. Measuring cups
9. Measuring spoons
10. Knife (sharp)
11. Flour sifter or sieve (optional)
12. Pastry brush (for cream topping – optional)
13. Cooling rack (optional)
FAQ
- Can I use frozen strawberries instead of fresh?You can use frozen strawberries, but thaw and drain them well first. Then add to the dough.
- What can I use instead of heavy cream?Whole milk or half-and-half can be used as a substitute, but the scones may not be as rich and tender.
- How should I store the scones?Place them in a room-temperature, airtight container for up to 2 days. For longer storage, put them in the freezer.
- Can I add other fruits or flavors?Definitely! Experiment with some blueberries, raspberries, or even a touch of lemon zest for a unique flavor.
- Do I have to use unsalted butter?Although lack of salt is preferable when working with a new recipe, I have successfully baked the following shortbread cookies with salted butter, using only 1/4 teaspoon of added salt.
- How do I know when the scones are done baking?When they are golden brown on top and a toothpick inserted into the center comes out clean, scones are done.
Strawberry Cream Scones Recipe Substitutions and Variations
All-purpose flour: Substitute with a 1:1 gluten-free flour blend for a gluten-free version.
Coconut sugar or light brown sugar yield a deeper flavor than granulated sugar.
Heavy cream: Replace with full-fat coconut milk for a non-dairy alternative.
Butter without salt: For a plant-based alternative, use vegan butter.
Strawberries: Use raspberries or blueberries for a different berry twist.
Pro Tips
1. Chill the Ingredients: Ensure both the butter and the heavy cream are as cold as possible before starting. Cold ingredients create steam when baking, which helps the scones rise and become flaky.
2. Handle the Dough Gently: Avoid overmixing or kneading the dough too much. Overworking it can lead to dense scones. Mix just until the dry ingredients are incorporated and then gently fold in the strawberries.
3. Use a Pastry Cutter: When incorporating the butter, a pastry cutter can help achieve the ideal crumbly texture without warming the butter too much.
4. Chill Before Baking: After shaping the scones and placing them on the baking sheet, chill them in the refrigerator for about 15 minutes. This helps the scones maintain their shape and rise better in the oven.
5. Extra Flavor: For added flavor, try incorporating a teaspoon of lemon zest into the dry ingredients. The citrus complements the strawberries beautifully.

Strawberry Cream Scones Recipe
My favorite Strawberry Cream Scones Recipe
Equipment Needed:
1. Oven
2. Baking sheet
3. Parchment paper
4. Mixing bowl (large)
5. Mixing bowl (medium)
6. Pastry cutter (or fingertips)
7. Whisk or fork (for beating)
8. Measuring cups
9. Measuring spoons
10. Knife (sharp)
11. Flour sifter or sieve (optional)
12. Pastry brush (for cream topping – optional)
13. Cooling rack (optional)
Ingredients:
- 2 cups all-purpose flour
- 1/3 cup granulated sugar
- 1 tablespoon baking powder
- 1/2 teaspoon salt
- 6 tablespoons unsalted butter, cold and cubed
- 1/2 cup heavy cream
- 1 large egg
- 1 teaspoon vanilla extract
- 1 cup fresh strawberries, diced
- 2 tablespoons coarse sugar, for topping
Instructions:
1. Your oven should be heated to 400°F (200°C) ahead of time, and a baking sheet should be lined with parchment paper.
2. In a big mixing bowl, combine the flour, granulated sugar, baking powder, and salt, and mix thoroughly.
3. Include the cold, cubed butter in the dry ingredients. Cut the butter into the mixture using a pastry cutter or your fingers. Continue until the mixture resembles coarse crumbs, with some larger pieces of butter still intact.
4. In another bowl, beat together the ingredients in this section until combined. The ingredients are: heavy cream, egg, and vanilla extract.
5. Combine the liquid ingredients with the dry ones and stir gently until they are just mixed together. You should not see any dry patches, but it is okay if the batter is not perfectly smooth.
6. Carefully and gently incorporate the diced strawberries, taking care not to overwork the dough.
7. Transfer the dough to a surface that has been lightly sprinkled with flour and knead gently. Form the dough into a rough disk and then pat it into an 8-inch round circle.
8. Using a sharp knife, divide the dough into 8 wedges and move them to the baking sheet you prepped earlier, spacing them about 2 inches apart as you do. The wedges should be on the baking sheet in the same way they would be if they were actually a pie, so that they could bake properly.
9. If desired, use a little extra cream to brush over the tops and then sprinkle on some coarse sugar.
10. Bake for 18-22 minutes, or until the scones are brown on top and look like they’re about to burst. Let cool slightly before serving. Enjoy!