There’s this magical dessert that turns any ordinary day into a special occasion—let’s dive into the art of creating a luscious cheesecake that’ll have everyone in awe with its creamy perfection!
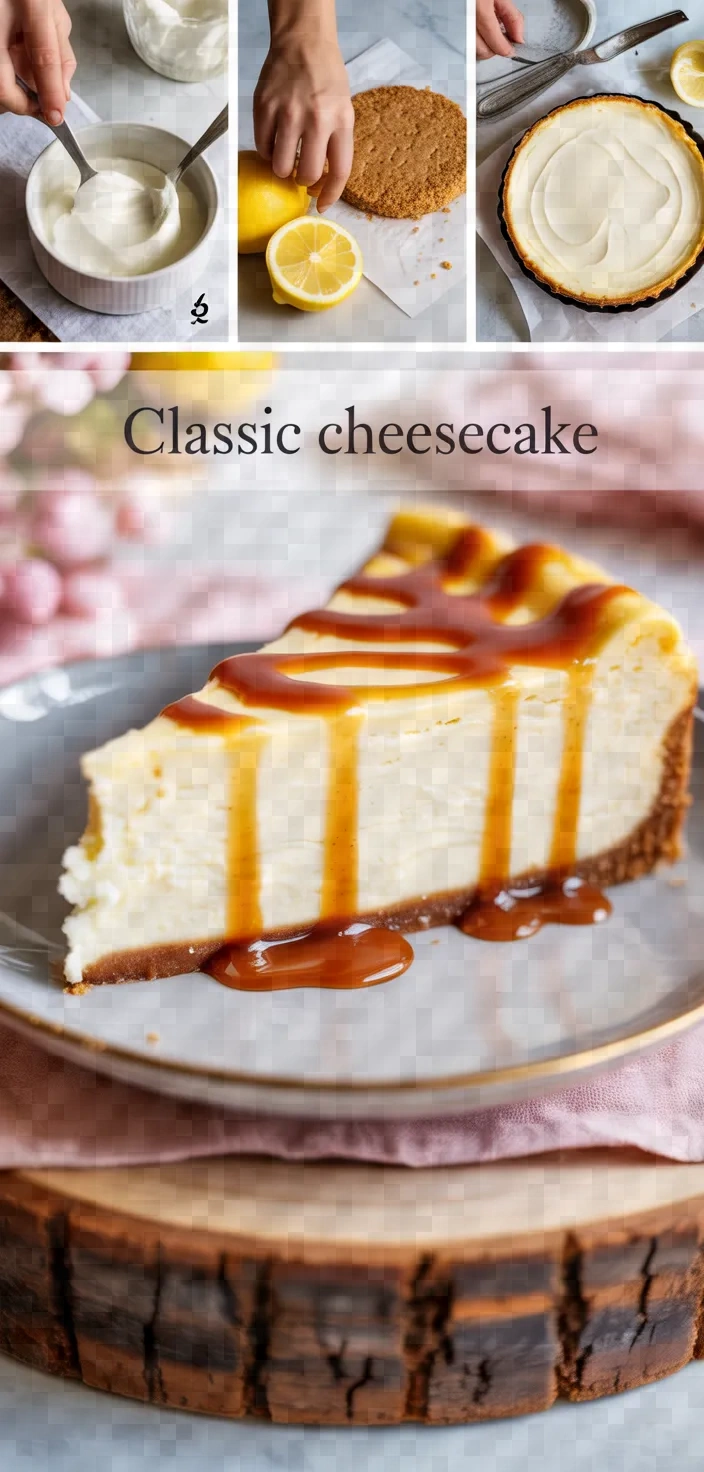
I adore creating the ideal traditional cheesecake, which revolves around the equilibrium of flavors and textures. This dessert, with a tasty graham cracker crust, melds the rich cream cheese and a not-so-subtle touch of vanilla.
The smoothness from the sour cream and heavy cream provides an irresistible treat. To me, it is simply indulgent!
Ingredients
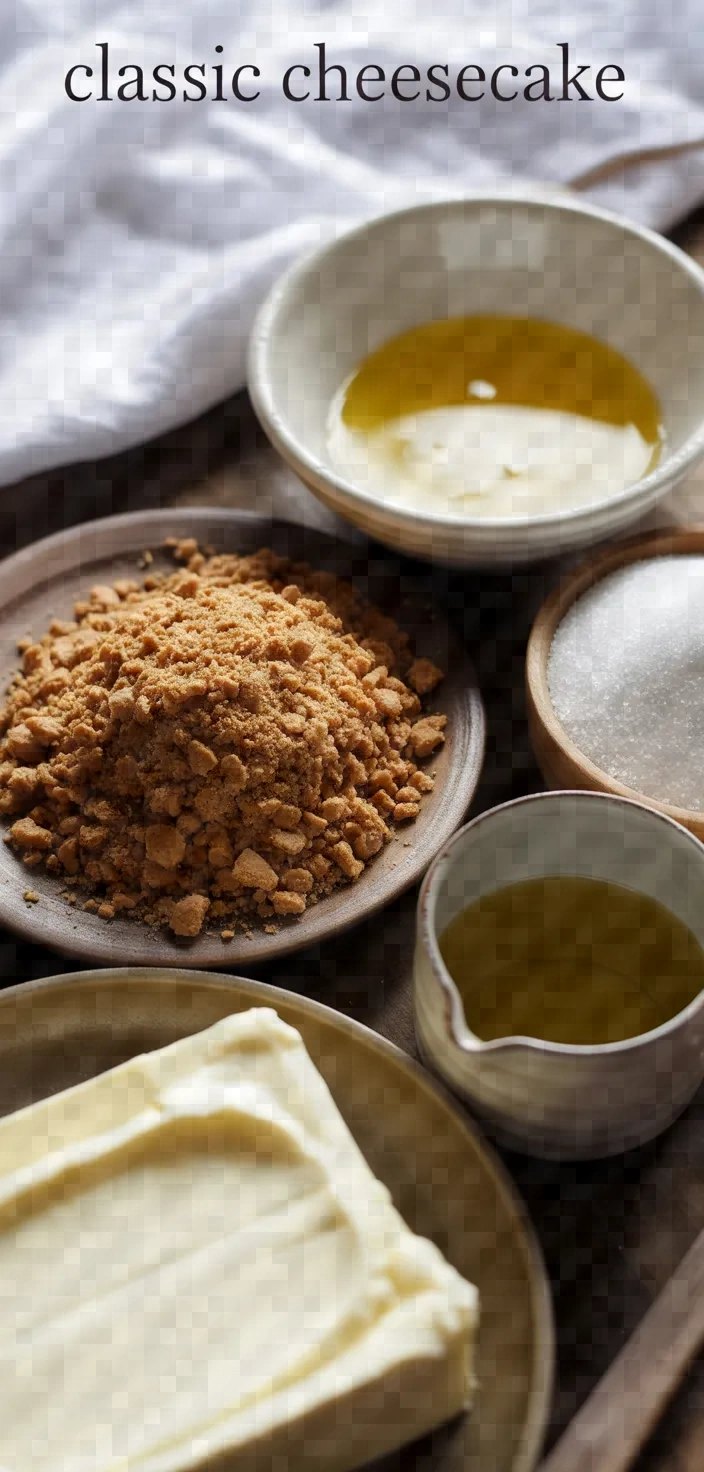
- Graham Cracker Crumbs: Provide a buttery, crunchy base; primarily carbohydrates.
- Cream Cheese: Rich and creamy, high in fat; key to cheesecake’s texture.
- Granulated Sugar: Sweetens the cheesecake; main source of sweetness.
- Vanilla Extract: Adds sweet, fragrant aroma; enhances overall flavor.
- Eggs: Essential binder; adds structure and protein.
- Sour Cream: Adds tanginess and moisture; balances sweetness.
- Heavy Cream: Contributes richness and creaminess; increases fat content.
- All-Purpose Flour: Slight thickening agent; provides structure and stability.
Ingredient Quantities
- 1 and 1/2 cups graham cracker crumbs
- 1/4 cup granulated sugar
- 1/2 cup unsalted butter, melted
- 4 (8 oz) packages cream cheese, softened
- 1 and 1/4 cups granulated sugar
- 1 teaspoon vanilla extract
- 4 large eggs
- 2/3 cup sour cream
- 2/3 cup heavy cream
- 1 tablespoon all-purpose flour
- Pinch of salt
How to Make this
1. Set your oven to 325°F (163°C) to start. Prepare a springform pan with a 9-inch (23 cm) diameter by greasing or lining its bottom.
2. In a medium bowl, mix together the graham cracker crumbs and 1/4 cup of sugar. Stir in the melted butter until the mixture holds together.
3. evenly press the graham cracker mixture into the bottom of the pan that you have prepared. This will form the crust.
4. In a sizeable mixing bowl, whip the softened cheese until it is smooth and creamy.
5. Slowly mix in 1 and 1/4 cups granulated sugar and vanilla extract until everything is well blended.
6. Add the eggs individually, beating them in at low speed and scraping the bowl after each egg.
7. Blend together the sour cream, heavy cream, flour, and a pinch of salt until smooth and well combined.
8. In the springform pan, with the prepared crust, pour the cheesecake batter.
9. In the oven that has been preheated, bake for 55-70 minutes, or until the middle, has set but is still slightly jiggly.
10. Shut the oven off, open the door a bit, and allow the cheesecake to sit in the oven and cool for 1 hour. Then, put it in the refrigerator for a minimum of 4 hours or until the next day before you serve it.
Equipment Needed
1. Oven
2. 9-inch (23 cm) springform pan
3. Medium mixing bowl
4. Large mixing bowl
5. Electric mixer or whisk
6. Measuring cups
7. Measuring spoons
8. Rubber spatula or spoon for stirring
9. Spoon or spatula for pressing crust
10. Cooling rack
11. Refrigerator
FAQ
- Q: Can I use low-fat cream cheese for this cheesecake?A: For the best texture, use full-fat cream cheese, but low-fat may be used if necessary. The cheesecake may not be as creamy.
- Q: How should I prevent cracks in my cheesecake?A: To prevent cracks in your cheesecake, don’t over-mix the batter; avoid incorporating too much air. When you’re almost done mixing, fold the last part in by hand, using as little motion as possible, and you’re guaranteed to have a smooth, creamy cheesecake without any cracks.
- Q: Can this cheesecake be made ahead of time?Definitely! The taste of cheesecake actually improves on the second day, making it perfect to prepare it one to two days ahead of when you need it.
- Q: What is the best way to soften cream cheese?A: Allow the cream cheese to rest at room temperature for around 30 minutes, or nuke it in 10-second intervals until it’s nice and spreadable.
- Q: How can I tell when the cheesecake is done?A: The edges ought to be set, and the center should be jiggling somewhat. As it cools, it will continue the process of setting.
- Q: Can I freeze cheesecake?A: Indeed, cheesecake can be frozen. Wrap it tightly in plastic wrap and foil, and it can be stashed for up to 2 months.
- Q: Is it necessary to use a springform pan?A springform pan is best for easy removal and presentation, but a deep cake pan can be used if needed. Line with parchment for easy lifting.
Classic Cheesecake Recipe Substitutions and Variations
Substitute crushed digestive biscuits for graham cracker crumbs in this recipe for a slightly different flavor and texture.
For a deeper, more caramel-like sweetness, substitute brown sugar in equal amounts for granulated sugar.
Substitute Greek yogurt for sour cream for a thicker, tangier taste.
Replace heavy cream with half-and-half if you want a less rich cheesecake.
Substitute almond extract for vanilla extract and get a nutty twist.
Pro Tips
1. Use a Water Bath To prevent cracks and ensure even baking, consider using a water bath. Wrap the outside of the springform pan with aluminum foil to prevent leaks, and place it in a larger baking dish partially filled with hot water during baking.
2. Room Temperature Ingredients Make sure all your ingredients, particularly the cream cheese, eggs, and creams, are at room temperature before mixing. This will ensure a smoother batter and prevent overmixing.
3. Avoid Overmixing the Eggs When adding the eggs, mix them in at a low speed and just until incorporated. Overmixing can introduce air into the batter, causing the cheesecake to rise and then crack.
4. Chill Properly For the best texture, allow the cheesecake to cool gradually. After the hour in the oven with the door ajar, cool it completely on a wire rack before refrigerating. It’s best to chill it overnight for the flavors to fully develop.
5. Perfect the Crust Press the graham cracker mixture firmly and evenly into the bottom of the pan. This will ensure a solid foundation that holds together well when sliced. You can use the bottom of a measuring cup to pack it tightly.

Classic Cheesecake Recipe
My favorite Classic Cheesecake Recipe
Equipment Needed:
1. Oven
2. 9-inch (23 cm) springform pan
3. Medium mixing bowl
4. Large mixing bowl
5. Electric mixer or whisk
6. Measuring cups
7. Measuring spoons
8. Rubber spatula or spoon for stirring
9. Spoon or spatula for pressing crust
10. Cooling rack
11. Refrigerator
Ingredients:
- 1 and 1/2 cups graham cracker crumbs
- 1/4 cup granulated sugar
- 1/2 cup unsalted butter, melted
- 4 (8 oz) packages cream cheese, softened
- 1 and 1/4 cups granulated sugar
- 1 teaspoon vanilla extract
- 4 large eggs
- 2/3 cup sour cream
- 2/3 cup heavy cream
- 1 tablespoon all-purpose flour
- Pinch of salt
Instructions:
1. Set your oven to 325°F (163°C) to start. Prepare a springform pan with a 9-inch (23 cm) diameter by greasing or lining its bottom.
2. In a medium bowl, mix together the graham cracker crumbs and 1/4 cup of sugar. Stir in the melted butter until the mixture holds together.
3. evenly press the graham cracker mixture into the bottom of the pan that you have prepared. This will form the crust.
4. In a sizeable mixing bowl, whip the softened cheese until it is smooth and creamy.
5. Slowly mix in 1 and 1/4 cups granulated sugar and vanilla extract until everything is well blended.
6. Add the eggs individually, beating them in at low speed and scraping the bowl after each egg.
7. Blend together the sour cream, heavy cream, flour, and a pinch of salt until smooth and well combined.
8. In the springform pan, with the prepared crust, pour the cheesecake batter.
9. In the oven that has been preheated, bake for 55-70 minutes, or until the middle, has set but is still slightly jiggly.
10. Shut the oven off, open the door a bit, and allow the cheesecake to sit in the oven and cool for 1 hour. Then, put it in the refrigerator for a minimum of 4 hours or until the next day before you serve it.